Ubuntu 9.10 In VMware – Updated

Update 2: Preliminary 10.04 instructions are available here. No real obstacles for those running the latest Fusion/Workstation.

Update: If you’re using VMware Fusion 3.0 or any VMware Tools version 8.2.3-204229 or better you can follow a drastically simplified process. sudo apt-get install build-essential, choose install VMware Tools from the menu, copy tar to desktop, untar, sudo ./vmware-install.pl and follow the instructions. Simple!

With the release of the Ubuntu 9.10 RC it’s time to revisit installing Ubuntu into a VMware VM. I’m using VMware Fusion 2.0.x, but behavior should be largely the same for any recent VMware release.

First, create a new VM and point the installation disk at your Ubuntu 9.10 ISO. At this time I would not recommend using “easy install”, so uncheck that and continue. If you wish to use the graphical installer you’ll need to increase the RAM allocated to your VM from 512MB to 768MB.1

Now you can boot your VM and follow the graphical installer. Once complete your VM will hopefully reboot properly and ask you if you want to force the CD to disconnect (you do). If this doesn’t occur, force the guest to shut down, disconnect the ISO in the settings, then boot the VM again.

The official VMware Tools do not work properly due to the newer kernel (2.6.31), so we’ll need to build the open-vm-tools for this kernel. Follow the steps below to build them yourself or simply download the AMD64 deb package I have already built for the modules.2

  1. Obtain the build prerequisities3
    sudo apt-get install open-vm-tools build-essential open-vm-toolbox
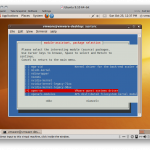
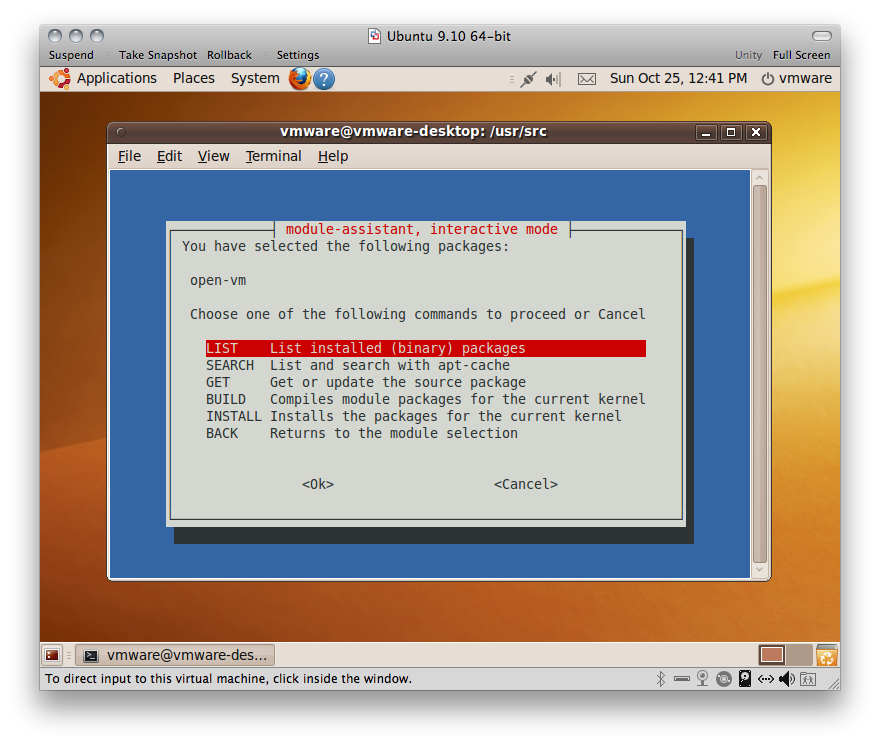
  2. Run module assistant to build the modules
    sudo m-a
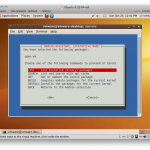
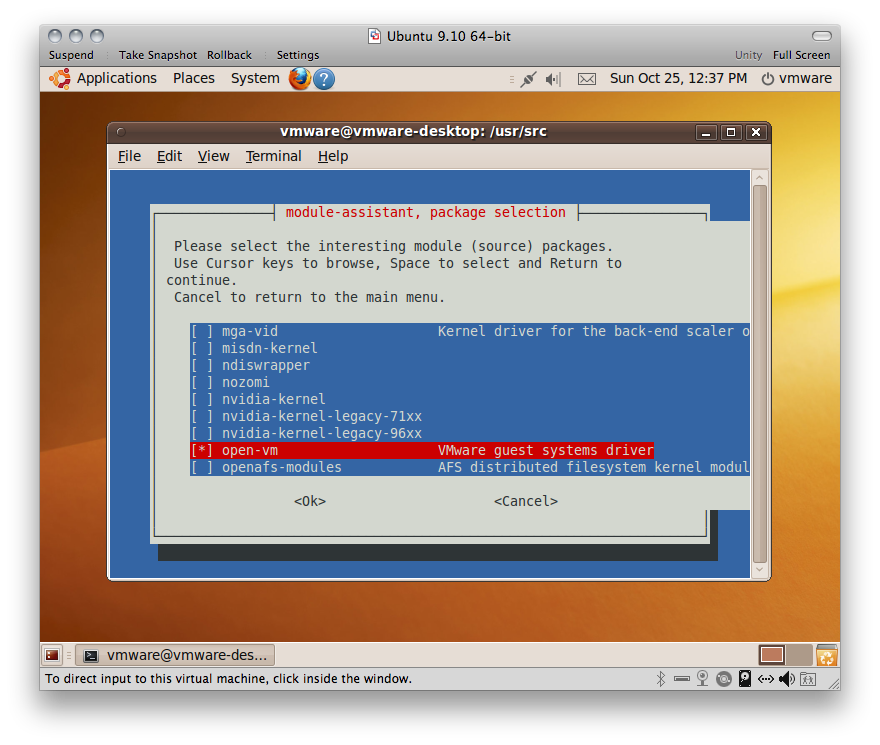
  3. Choose select and activate open-vm
    Select open-vm
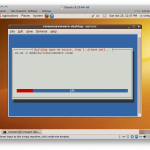
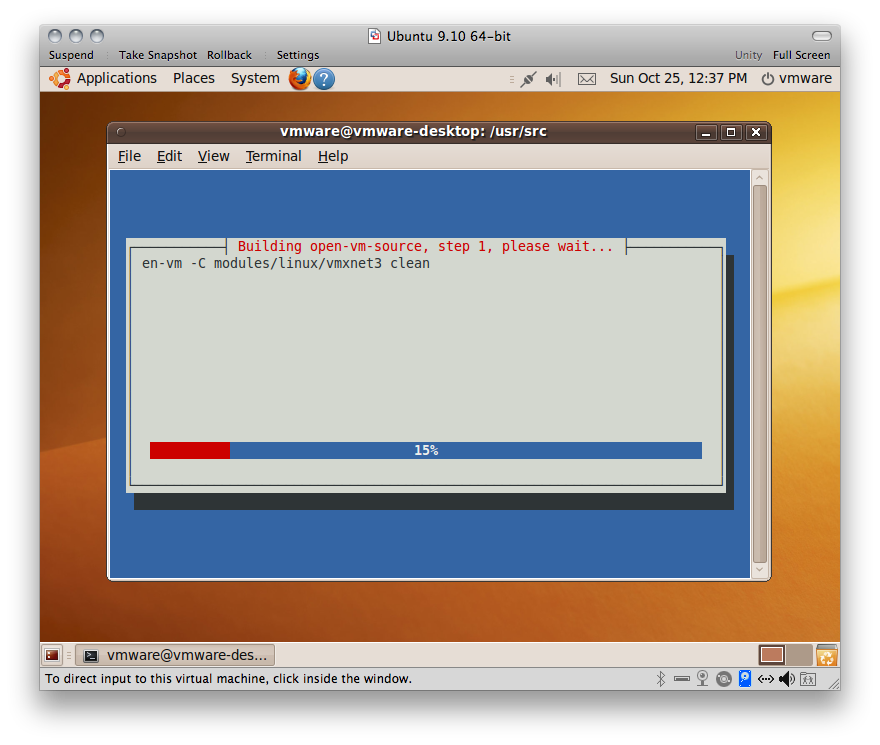
  4. Click okay, then select build
    Screen shot 2009-10-25 at 12.41.35 PM
    Screen shot 2009-10-25 at 12.37.37 PM
  5. Once it completes it will ask if you want to install. Choose yes, then quit out of m-a and reboot.
  6. After a reboot check to see that the vm modules inserted into the kernel properly.
    vmware@vmware-desktop:~$ lsmod | grep vm
    vmsync                  5104  0 
    vmmemctl               10120  0 
    vmhgfs                 59080  0 
    vmci                   33952  0

If you see the 4 modules listed above then you should have functioning copy/paste, auto-resolution switching, and even shared folders. However, to enable shared folders you’ll need to follow these steps:

  1. Enable shared folders and add a folder in the VM settings4
  2. Run this command:5
    sudo mount -t vmhgfs -v -o ro .host:/sharedfoldername /path/to/mnt

Let me know in the comments if you have issues or have improvements to the process. Waiting for the official VMware Tools release is boring!

  1. It may not be necessary to increase it a full 256MB, but the 512MB default causes the install to fail as of the release candidate.
  2. If you choose to install the package, you’ll need to do step 1 and then skip to step 6.
  3. open-vm-toolbox is only required for desktops
  4. If you get a message about “Unable to update run-time folder sharing status: The command is not recognized by the Guest OS tools” you can ignore this error.
  5. You can change ro to rw if you want your shared folder to be read/write capable
Leave a comment ?

20 Comments.

  1. Thanks – the latest instructions worked more or less flawlessly on VMware Fusion 3.0.0 (204229) installing Ubuntu 9.10 Desktop.

    After installing the VMware tools, I had to log in to the “fail safe” Gnome session (the previous session wouldn’t start), but other than that all seems fine.

  2. Hi,

    while following your instructions, in the last command, i did

    sudo mount -t vmhgfs -v -o ro .host:/work /mnt
    instead of /mnt/hgfs/ubuntuwork …
    any idea how i can restore the contents of /mnt/ ?

    Thanks

  3. also does this command have to be run everytime a folder is shared?

    Thanks

  4. Awesome, this really helped! Thanks… I was worried as it was giving me some fatal errors while apt-get was setting the stuff up, but module assistant did the trick. :-)

  5. The last reboot is important. For some reason I didnt need the mount command, I just made a symlink to /mnt/hgfs/xxx where xxx was my share

  6. It works !!! thanks a lot ! Bye

  7. There’s a far easier way to install open-vm-tools – use this PPA: https://launchpad.net/~grexk/+archive/ubuntu-dev This includes a DKMS package, so open-vm-tools remains installed after kernel upgrades.

    For more information, check out my blog post on this subject at http://candrews.integralblue.com/2009/10/running-ubuntu-in-vmware/

  8. Johan de Koning » Building Chromium OS - pingback on November 22, 2009 at 6:03 pm
  9. I tried this but drag-and-drop still does not work. It stopped working when I upgraded to the 2.6.31 kernel.

    I noticed that vmblock is not listed as a kernel module but I thought this was required for drag-and-drop?

  10. Thanks Craig, I installed open-vm-tools from the PPA you suggested.

    Like clanger9, I could not get past the login screen without using Failsafe GNOME; it would try, flash the console for a moment, then go back to the login. However, it works if I disable the “Autofit Guest” option (it can be re-enabled later, and I can still use “Fit Guest Now”). I’m using Ubuntu 9.04 as a host, and Ubuntu 9.10 as a guest.

  11. This is excellent! Thanks a million!

  12. As I am using the virtual kernel package the install of the modules fails so I had to use dpkg to forve the install.

    cd /usr/src
    # all one line
    sudo dpkg -i open-vm-modules-2.6.31-16-generic-pae_2009.07.22-179896-2+2.6.31-16.53_i386.deb

  13. Sorry typo:
    The command is
    sudo dpkg -i –force-depends open-vm-modules-2.6.31-16-generic-pae_2009.07.22-179896-2+2.6.31-16.53_i386.deb

  14. You are awesome!
    My VM is Workstation 6.5.0 on XP; Ubuntu 9.10 inside.
    And it works.
    Thank you!

  15. First of all, thanks a lot!
    Only module that is not loaded after reboot is vmci. I also realized that now, copy & paste over the clipboard is not working any more. Is that the missing module? What can I do about it?
    Cheers, Thomas

  16. Hi, I am an Newbee on Linux.
    With VMware ACE Edition 6.05 build-109488 and the tools
    VMware for Linux Version 7.2.9, build-109488
    I simply selected Install VMware tools from VMware-Menu.
    There appeared a CD-Rom icon on Desktop. This I opened with archivmanager and extracted it in a temporary created folder on Desktop.
    Then in Terminal I entered:
    cd Desktop/vmware-tools-distrib (or similar)
    sudo ./vmware-tools-install.pl
    then after a few questions (I submitted always Enter, the defaults)
    After a while the vware-tools had been installed properly.

    This did also work on Ubuntu 8.04, not in 8.10 nor 9.04

  17. Worked like a champ. Thank you so much!!! I don’t care about some of the little things, I just wanted the resolution to automatically adjust when resizing and this fixed it.

  18. 生活點滴 » ubuntu-9-10-in-vmware - pingback on May 28, 2010 at 9:08 am
  19. Hmm. I ran through the steps, saw the vm modules listed by lsmod, but auto-resolution still doesn’t work. I can resize the vm window, but the aspect ratio stays the same, and everything scales — I don’t get fixed size icons on a bigger or smaller desktop.

    This is with ubuntu 10.04 on vmware fusion 3.1.1.

  20. 侏儸紀公園 » Blog Archive » 掛載失敗 - pingback on November 9, 2010 at 3:04 am

Leave a Comment


NOTE - You can use these HTML tags and attributes:
<a href="" title=""> <abbr title=""> <acronym title=""> <b> <blockquote cite=""> <cite> <code> <del datetime=""> <em> <i> <q cite=""> <strike> <strong> <pre lang="" line="" escaped="" highlight="">


Trackbacks and Pingbacks: